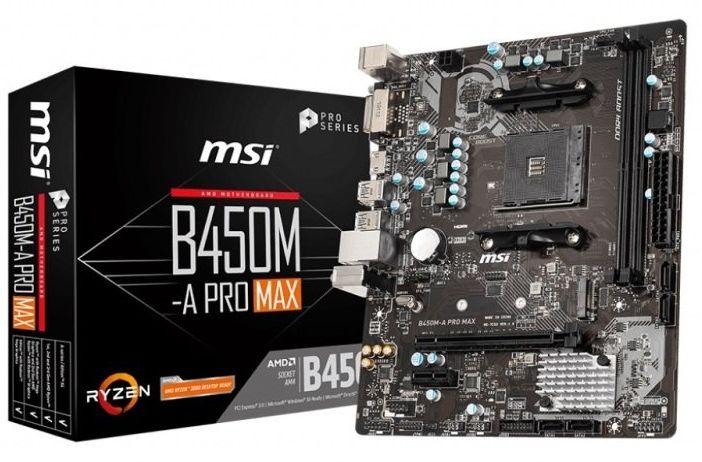
At the end of this article, there is a link to a video that shows how to diagnose that a dead motherboard is responsible for a dead desktop PC,
I am summarizing the process here. Also adding some missing or extra useful information that is not in the video.
Almost any of a computer’s components could be responsible for it appearing to be dead. Therefore, if the motherboard has died, an elaborate process of eliminating the other sound components has to take place.
The PC doesn’t boot, none of the fans work, but some LED lights show on the motherboard.
Specifications of the dead PC
The self-built desktop PC uses a high-end Asus Prime X229-A motherboard, has two Nvidia graphics cards connected in SLI mode, four of the eight DIMM RAM memory slots have modules, there is an M.2 SSD, a few hard disk drives, a DVD writer, a 1200W power supply unit (PSU) and the processor uses a water cooler.
Here is the PDF-file download link to the X299-A motherboard user manual on the Asus website:
https://dlcdnets.asus.com/pub/ASUS/mb/LGA2066/PRIME_X299-A/E12782_PRIME_X299-A_UM_WEB.pdf
Using a battery-powered leaf blower to remove dust
The technician, Carey Holzman, uses a battery-powered leaf blower to blow the large amount of dust out of the PC. (Search for his name on YouTube for videos showing him doing a cleaning.) However, a deeper clean is done later by hand due to capacitors and areas of the motherboard being coated in dust.
Dust is an insulator that can cause hardware to overheat and fail. It is advisable to remove the dust in PC in constant use at least once a year.
The area of a high-end performance motherboard under the processor that is in use to perform intensive computing, such as playing games, is especially vulnerable to overheating if the cooling unit blows hot air over it. A water-cooling unit avoids that problem. Note that you can use a vacuum cleaner to remove dust from the PSU that expels warm air at the back of the case, but never on the motherboard and its components, because a discharge of thousands of volts of static electricity is harmless to a human but destroys electronic components. Holzman says that he does not use canned compressed air because it can expel water droplets on to the components.
Testing the power supply unit (PSU)
Note: Always disconnect a PC from the mains electricity supply before working on it.
The next step involves the disconnection of the motherboard from the PSU and the disconnection of the Intel processor’s 8-pin and 4-pin power connectors that run from the PSU to connectors on the motherboard. A 600W PSU that supplies both of those connectors is connected to the motherboard without removing the 1200W power supply.
The technician disconnects the water cooler, all of the hard disk drives and the DVD writer and removes the M.2 SSD and both of the graphics cards.
Notes: Never screw an M.2 drive in too tightly to the motherboard. The 8-pin and 4-pin CPU (processor’s) power connectors from the PSU, require a PSU that supports both connectors. In this case, PC won’t boot unless both connectors are connected to the motherboard. Read the motherboard’s manual to find out if both connectors must be in use.You can switch the PC on very briefly if the cooling unit is not active in order to find out if the booting POST (Power On Self Test) begins. Not for long or the processor will burn out,
Testing to establish if a dead motherboard is responsible
The technician connects a 600W PSU to the motherboard without removing the PC’s PSU. The POST fails to initiate. The cause of the problem is now almost certainly a problem with the motherboard, because processors seldom fail. Causes could be a short circuit on the board itself, a loose screw causing a short circuit or one or more blown capacitors on the motherboard.
The system won’t boot without RAM memory, so the technician removes two of the four RAM memory modules and removes and re-seats the other two to make sure that their seating is correct. Next, he removes the round CR2032 motherboard battery and tests it with a battery tester.The battery is weak, so he replaces it.
If you can’t test the battery just replace it with a new one. They cost about a pound each. A current UEFI BIOS uses permanent flash memory so does not require battery power, but the system clock still has to run from the battery when the system is not active. A system must have the correct time in order to function properly.
The technician returns the motherboard to Asus for repairs
The system still fails to boot to the POST tests. Next, he removes the motherboard to find out if there is anything shorting it, such as a loose screw. That is found not to be the case, so he removes the motherboard, places it on anti-static material such as the envelope that motherboards come in. The POST tests fail to initiate again. This Asus motherboard requires the connection of both 8-pin and 4-pin CPU connectors from the power supply. The cause of the problem is now almost certainly a dead motherboard, so the technician sends it back to Asus for repairs.
Reinstalling the components to the repaired motherboard
When the motherboard comes back from Asus, the technician re-installs all of the components. You must align the processor correctly with its socket before placing it in the socket. Every motherboard manual shows how that is done. Remember that If you are don’t have much experience building PCs, It is a good idea to take photographs of the system and make notes as you remove components so that you can see what went where when you come to replace them.
The video of the diagnosis of the dead Asus X299-A motherboard