How to create and edit a screen capture using Paint and IrfanView
You can screen capture the whole of a screen or any part of a screen using the Snipping Tool in Windows 7/8.1/10,
But I prefer using a screen capture that I capture using the Microsoft Paint tool that all versions of Windows provide. I can then save the screen capture in Paint as an image, in any image format (jpg, gif, png, etc.). The excellent free image viewer and editor called IrfanView makes it possible to capture the entire image or any part of it and edit it in many ways.
IrfanView allows you to edit the contents of the actual image. You can resize, increase/decrease colour depth, brightness, etc. – insert text and an overlay/watermark image – add plugins to add features, etc.
You should be able to work out how to use IrfanView to edit images by experimenting with it. However, if you need help, there are many tutorials and YouTube videos on how to use its features. For example, if you want to know how to use it as an image editor use a web-search query such as: how to use irfanview as an image editor.
Create a screen capture from a video using Paint and Irfanview
When I want to capture something on a screen from, say, a video, I stop the video where I want to create a screen capture and press the PrtSc key that captures the screen to Paint. You can also capture a screen of a video while it is playing if what is showing isn’t moving. Screen captures of anything in motion in a video don’t usually come out well.
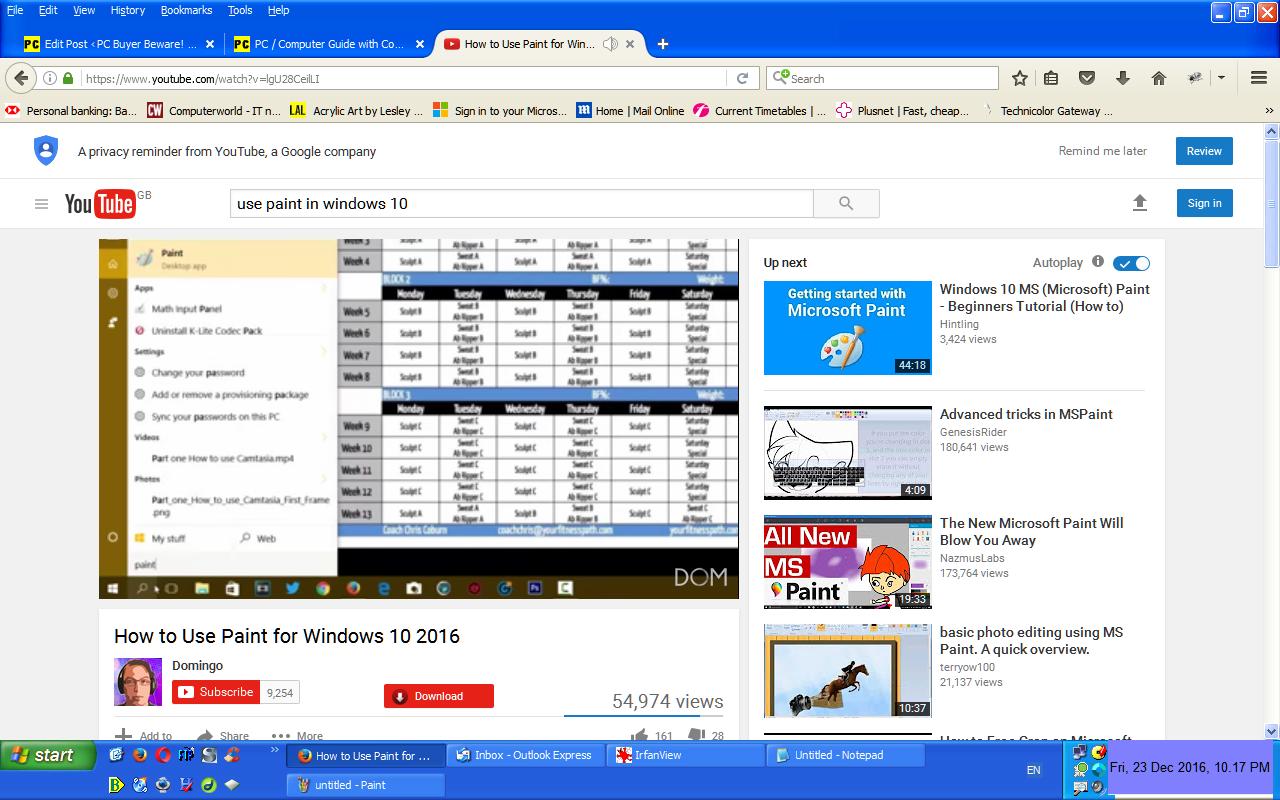
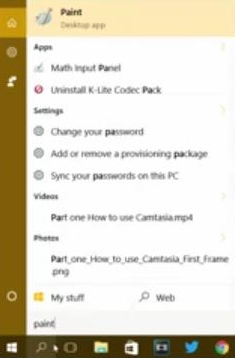
Next, I open Paint. In Windows 10, enter paint in the Search box and click the Paint (Desktop app) above it, as shown in the screen capture, below, taken from a YouTube video called “How to Use Paint for Windows 10 2016”. That video is a 17-minute tutorial.
Now I just have to use the Paste option to get the screen capture into Paint. Next, I use Paint to save it as an image by giving it a name and choosing an image format from the drop-down menu. I choose the jpg format, but there are several choices. Next, I chose to give the image the name use-paint-windows-10.jpg. and saved it to the Windows Desktop for easy retrieval using IrfanView.
How to open a screen capture image in IrfanView and capture a part of it as another image
I have IrfanView installed so now I just have to right-click on the image on the Desktop and choose Open with… => IrfanView.
I can now use IrfanView to select an area of the Paint screen capture and save it as an image, as shown below.
To capture and save the above image in IrfanView, click on its Edit heading and choose the Autocrop borders option. Then just position the mouse pointer at the top of the point where you want to start the capture, right-click and draw over the area that you want to capture. The area you choose shows a line around it.
Now to save that area as an image, use the Edit => Crop selection option and save the image in the format of your choosing as you did with Paint.